If you have searched for how to check tile work, the answer is: before the final payment, while the fixer is still on site and the levelling clips have just come off. A week later the furniture is in, the grout has cured, and a hollow tile is your problem rather than his.
Below is our checklist for tile work: the eight checks we run on every ArcheTiles floor before handover, taken from our own inspection standard and rewritten so you can run them yourself. You need a coin, a two-metre straightedge or a long level, a torch, a tape and a bucket of water. Allow an hour for a whole house.
1. Flatness: the straightedge check
What we check: the floor surface is flat to within 1 mm over a 2-metre straightedge. That is a strict standard; a good general floor should be within 2–3 mm.
How you check it: lay the straightedge across the floor in several directions in each room, especially across doorways and along the main line of sight from the door. Shine the torch along the floor behind it. Any gap you can see between the straightedge and the tiles is a dip; any rocking is a hump. Small dips are normal on a floor that was not levelled first; a dip you can fit a coin under is a problem.
Why it matters: a floor that is not flat is a floor with voids under the tiles, and it will show lippage at the joints.
2. Lippage: the coin check
What we check: no tile edge sits more than 0.5 mm above its neighbour on large porcelain. We use a feeler gauge; a coin works nearly as well.
How you check it: at every joint you can reach, slide a coin across from one tile to the next. It should not catch. Then get down low and look along the floor towards a window or a lamp. Every proud edge throws a shadow. Do this on the main floor, then in the bathrooms, where clipped joints matter most because polished tile shows everything.
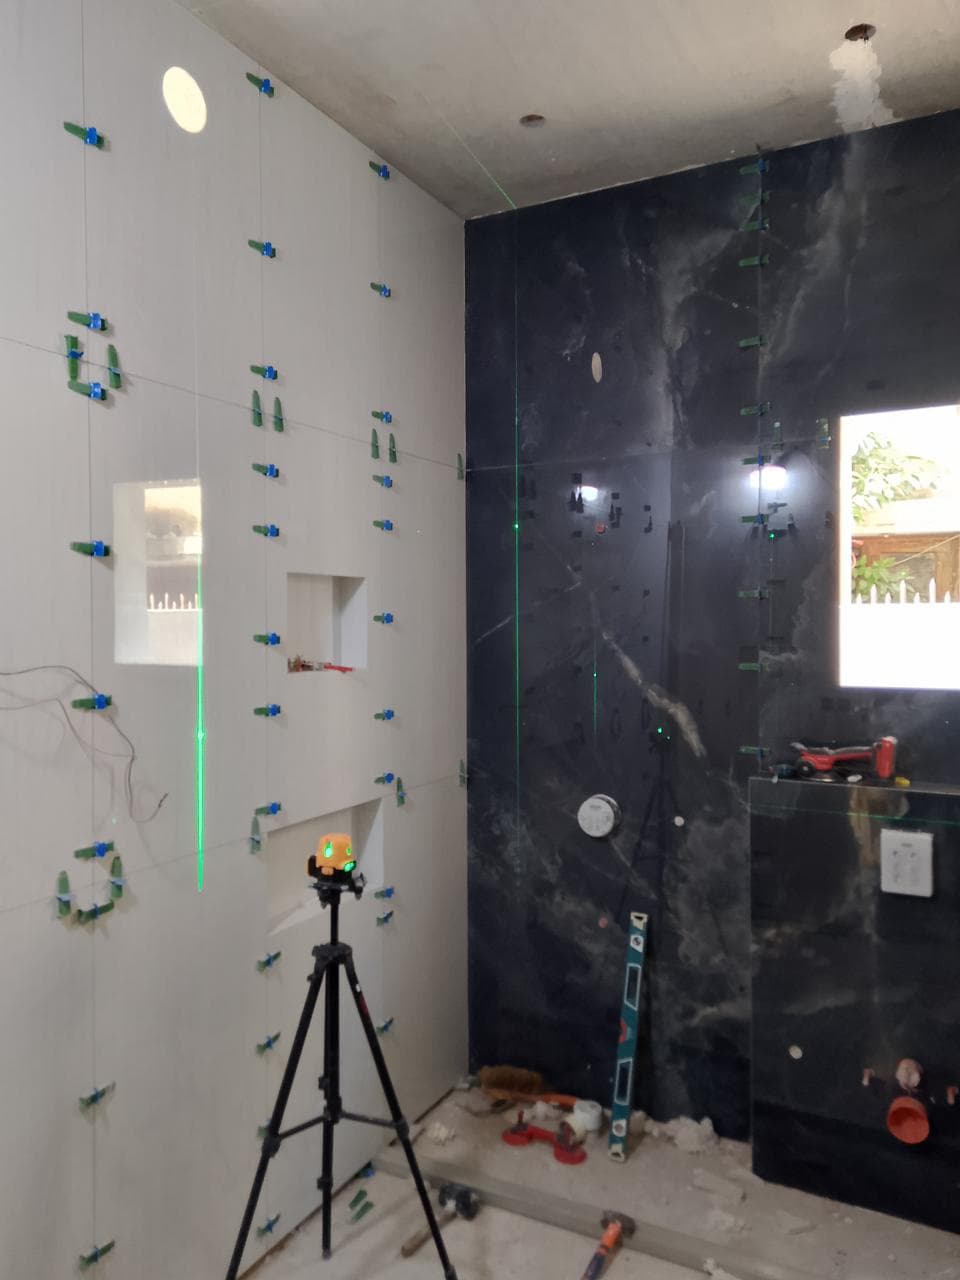
Why it matters: lippage is what you feel underfoot and see in every raking light for the life of the floor. It is also the most common sign that no levelling clips were used.
3. Hollow tiles: the tap survey
What we check: at least 95% adhesive coverage under every tile; 100% in wet areas. We check by lifting spot tiles during fixing and by tapping every tile afterwards.
How you check it: tap each tile with the coin, centre and corners. A solid tile sounds dull; a void rings. Mark hollow tiles with masking tape. A handful of hollow corners in a whole house is acceptable and can be re-fixed; whole hollow tiles in a line, or more than one in ten, means the fixing method was wrong. Our article on why tiles sound hollow explains what you are hearing.
Why it matters: hollow tiles crack under load and pop in summer. This is the single most important check on the list.
4. Grout joints: width and fill
What we check: joints are a consistent width across the whole layout — within a fraction of a millimetre on rectified tiles — and grout is flush, fully packed, and free of pinholes.
How you check it: look along a run of joints. They should be straight and the same width from one end of the room to the other; a joint that widens or wanders means the tiles drifted. Run a fingernail along the grout: it should be flush with the tile and not crumble. Look at internal corners and around door frames, where grout is most often skimped.
Why it matters: unfilled joints let water in and grout that crumbles has been mixed wrong or applied to dry.
5. Bathroom slope: the bucket test
What we check: a minimum fall of 1 in 50 — about 2 cm per metre — towards the drain, with no puddles.
How you check it: pour a bucket of water on the bathroom floor at the point furthest from the drain. It should run to the drain and leave no standing water. Then pour it in the shower. Any puddle that remains is a spot that will be wet under the tiles forever. Check that water does not run towards the door.
Why it matters: puddles mean permanent damp under the tiles and, eventually, a stained ceiling below. Read bathroom waterproofing before tiles for what should be underneath.
6. Waterproofing: ask for the flood test
What we check: zero water loss over a 24-hour flood test at 50 mm depth, signed off by the site supervisor before tiling started.
How you check it: you cannot see the membrane once the tiles are on, so this one is about evidence. Ask the fixer when the flood test was done and whether they have photos of the bathroom floor filled with water before tiling. If the answer is a blank look, the bathroom was not waterproofed. It is too late to fix without lifting the tiles, but it is not too late to negotiate.
Why it matters: the membrane is the only thing keeping the room below dry.
7. Edges, corners and cuts
What we check: no chipped or ragged edges, external corners either mitred cleanly or finished with a proper trim, and cuts around pipes, sockets and door frames that are tight and clean.
How you check it: look at every external corner in the bathrooms and at the skirting. Look at the cut tiles at the room edges — a good fixer plans the layout so cuts are even on both sides of the room and hidden under skirting, not a sliver on one wall and a full tile on the other. Look around the toilet and basin pipes; the cut should be close and the gap sealed.
Why it matters: chips and ragged cuts are a sign of a hand grinder used in a hurry rather than a wet cutter, and they cannot be fixed later.
8. Cleanliness and protection
What we check: no grout haze, adhesive smears or scuffs before handover, and the floor protected until the other trades are finished.
How you check it: wipe a dark tile with a damp white cloth; grout haze comes off grey. Look at the floor at a low angle for a dull film. If painters and carpenters are still to come, the floor should be covered with breathable sheeting or felt, not left bare or wrapped in plastic that traps moisture.
Why it matters: grout haze left to cure is hard to remove later, and an unprotected finished floor picks up damage from every trade that follows.
What to do with what you find
- Minor: a few hollow corners, a little haze, one proud edge. Get them fixed before the final payment. All are easy while the fixer is on site.
- Method problems: widespread hollow tiles, lippage across the room, no waterproofing evidence, puddles. Do not make the final payment. Get a written scope for correcting it, and consider a second opinion. Our tile repair service will survey and give you an honest written assessment of what can be saved.
Ask for it in writing, before the job
The easiest inspection is the one you agreed in advance. Before work starts, ask the fixer to confirm in writing: full adhesive coverage with back-buttering on large tiles; levelling clips on every joint; a flood test on every bathroom; and a written warranty on the work. ArcheTiles gives a written workmanship warranty and three months of free maintenance after handover, and every completed project gets a Project Passport recording what was used and where.
If you are in Islamabad and want a second opinion on a floor before you pay, see our tile fixers in Islamabad page and message us with photos.